• Roasted Kaju is most demanding snack at my home. Everyone enjoys this a lot. Everyone has their different variations to make this recipe. Kaju means in English Cashews.

    Roasted Masala Kaju is a tasty Indian snack made by roasting premium cashews nuts and coating them with a flavorful blend of aromatic spices. Unlike deep- fried versions, this roasted recipe uses very little ghee, making it a lighter yet equally satisfying option. The combination of crunchy cashews and tangy, spicy seasoning creates a snack that’s hard to resist.

    Roasted Masala Kaju is also a convenient make-ahead snack. Once cooled and stored in an airtight container, It stays fresh and crunchy for days, making it ideal for travel, lunch boxes, or quick snacking. Whether served to guests or enjoyed at home, this easy recipe is flavorful alternative to packaged snacks and is sure to become a family favorite.

    Health Benefits

    Roasted masala cashews are a nutrient-dense snack that can offer several health benefits when eaten in moderation. They provide healthy unsaturated fats that support heart health. Plant-protein that helps build and maintain muscles, and fiber that promotes healthy digestion and keep you feeling full for longer. They also contain antioxidants such as polyphenols that helps protect cells from damage caused by free radicals. They are rich in magnesium, phosphorus, copper, zinc, and iron.

    Ingredients

    • 1 cup whole cashews
    • 1 tbsp ghee
    • 1 tsp dried oregano
    • 1/2 chat masala
    • 1/2 tbsp dried mango powder
    • 1/2 tsp red chilli powder
    • 1/2 tsp cumin powder
    • 1/4 tsp black pepper powder
    • 1/4 tsp periperi powder
    • 1/4 tsp black salt
    • Salt to taste

    Recipe

    • First take a bowl add all the spices on it like dried oregano, red chili powder, cumin powder, black pepper powder, black salt and salt and mix well.
    • Take a pan or kadai and add ghee on it.
    • Add cashews and keep stirring on a low flame until light golden brown.
    • At this stage add spice mixture on it.
    • Mix well and keep stirring for 5-8 mins on low flame.
    • Serve it.

    • Preparation Time – 5 minutes
    • Cooking Time – 15 minutes
    • Total Time – 20 minutes

    • Cuisine – Indian
    • Serving – 4

    Frequently Asked Questions?

    Can I bake these instead of roasting in a pan?

    Yes. Bake at 160 C for 10-12 minutes, stirring halfway through.

    Important Tips

    • Roast the cashews on low flame for even cooking.
    • Adjust the spice level according to your preference.
    • Store in an airtight container to keep them crunchy for up to 2 weeks.
    • For extra flavor, roast a few leaves until crips and mix them with cashews.
    • Make sure the flame should be low otherwise cashews can be burnt.

    Serving Options

    • Tea
    • Coffee

    Nutritional Values

    • Calories – 250 kcal
    • Protein – 6 gm
    • Fat – 15 gm
    • Sugar – 2 gm
    • Fiber – 1 gm
    • Iron – 3 gm

    Note

    All the nutritional values vary depending on the quality of products and their quantity.
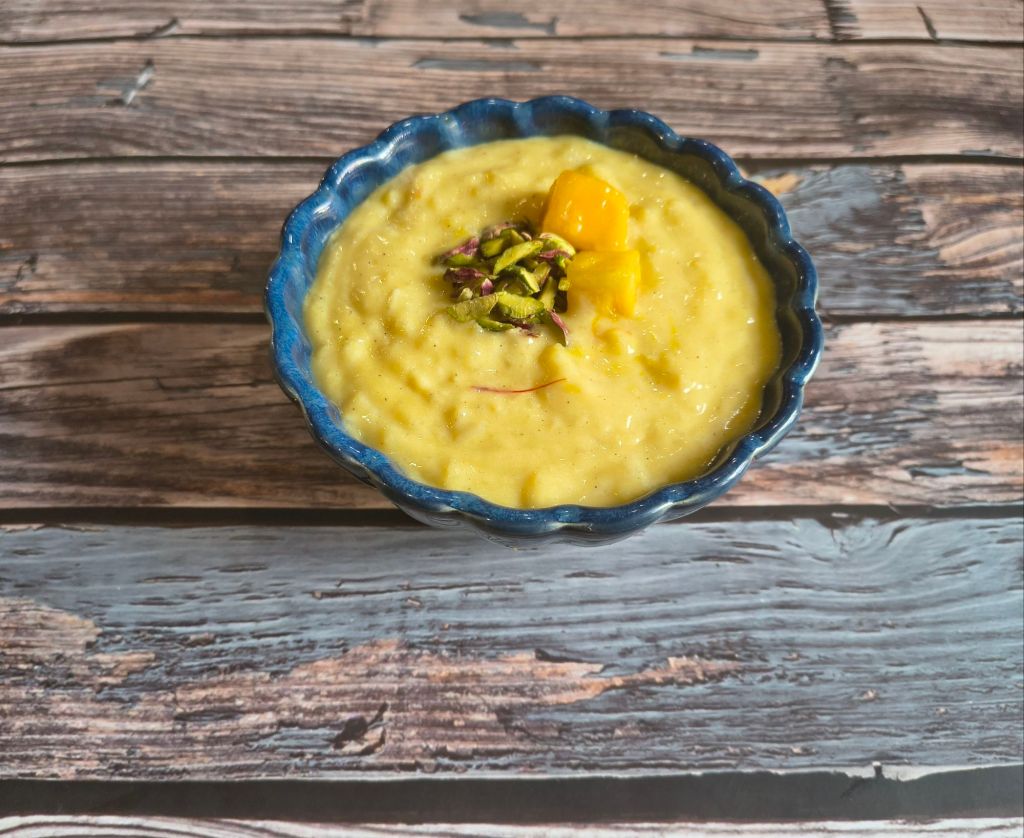
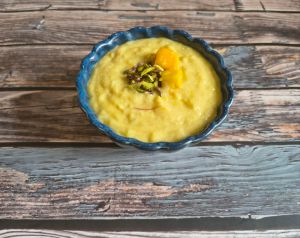
  • Mango Kheer is a rich and creamy Indian dessert made by combining slow-cooked rice pudding with fresh mango pulp. It is smooth and lightly sweet, with a refreshing tropical flavor that makes it perfect for summer. The traditional kheer base brings warmth and richness, while mango adds a bright, fruity twist that lightens the dessert beautifully.

    This recipe and steps to make Mango Rice Kheer are pretty simple and easy to follow though it takes a bit of time to get perfect end results. This is because the rice requires time to cook in the milk.

    Mango Kheer is luxurious Indian dessert that beautifully combines the richness of traditional rice kheer with the sweet, tropical flavor of ripe mangoes. Often enjoyed during the summer months, it is considered one of the most beloved seasonal desserts because it brings together two iconic ingredients of Indian cuisine: milk and mango. The preparation begins with slowly cooking rice in milk until it becomes creamy and tick, allowing the natural sweetness of the milk to develop. Once the kheer has cooled, fresh mango pulp is gently folded in, creating a smooth, velvety texture and a vibrant golden color. The result is a dessert that is rich yet refreshing, making it ideal for warm weather.

    Trust me guys this dessert it’s just awesome in taste. So, this is the must try dish.

    Health Benefits

    Mango Kheer is also very healthy. It is good source of energy. Ripe mango contains dietary fiber and enzymes that may help digestion. The calcium and phosphorus from milk help maintain bone strength. Mango is rich in antioxidants like beta-carotene, which helps to reduce oxidative stress and support skin and eye health. Milk provides protein and it good for muscle repair.

    Ingredients

    • 1 cup mango puree
    • 4 cups full fat milk
    • 1/4 cup rice
    • 1 tsp chopped pistachio
    • 20-25 saffron strings
    • Sugar as required

    Recipe

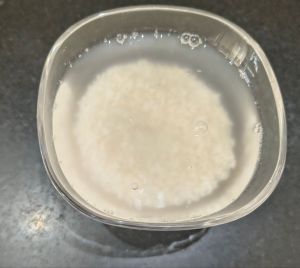
    • First, wash and soak the rice for 1 hour.
    • Heat the milk in a kadai and bring it to a gentle boil.
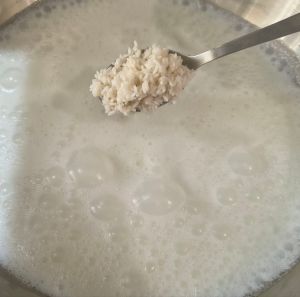
    • Add the soaked rice and let it cook. Wait for the rice to be cooked and kheer to become thick and creamy and keep stirring occasionally to prevent sticking.
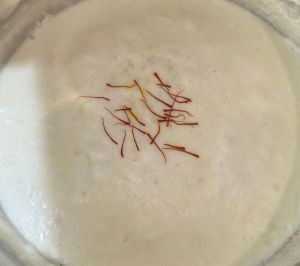
    • Now add saffron strings but this is completely optional.
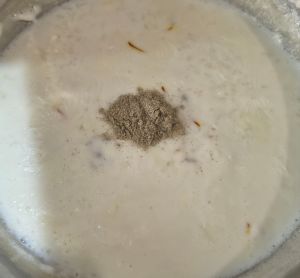
    • Put cardamom powder to give a nice aroma.
    • Add sugar and cook until it dissolves.
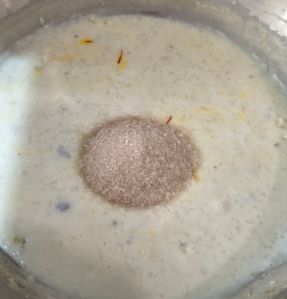
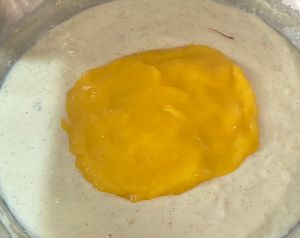
    • After completing this process, switch off the gas and let the kheer come to room temperature. Then add mango pulp and mix well.
    • Serve it.

    • Preparation Time – 10 mins
    • Cooking Time – 45 mins
    • Soaking Time – 25 mins
    • Total Time – 1 hr 30 mins

    • Cuisine – Indian
    • Serving – 4

    Frequently Asked Questions?

    Can I use canned mango pulp?

    Yes, canned mango pulp can be used fresh mangoes are unavailable. Choose a high-quality unsweetened variety if possible.

    Why did my kheer curdle?

    Adding mango puree to hot milk can cause curdling. Always let the kheer cool completely before mixing the mango.

    Important Tips

    • Adjust the quantity of sugar you use depending upon on mango sweetness.
    • Allow the milk mixture to cool down completely before adding the mango puree to it, otherwise it may split.
    • Make sure to use heavy-bottomed kadai to cook the kheer.
    • You can avoid sugar if you like less sweetness.
    • I used pistachios only for garnishing only so that the mango flavor comes through beautifully in the kheer, but you can add the nuts according to the choice.
    • Use dark color mango to make mango puree.

    Serving Options

    • Puri
    • Malpua

    Nutritional Values

    • Calories – 350 kcal
    • Protein – 10 gm
    • Fat – 15 gm
    • Sugar – 12 gm
    • Iron – 6 gm
    • Fiber – 8 gm

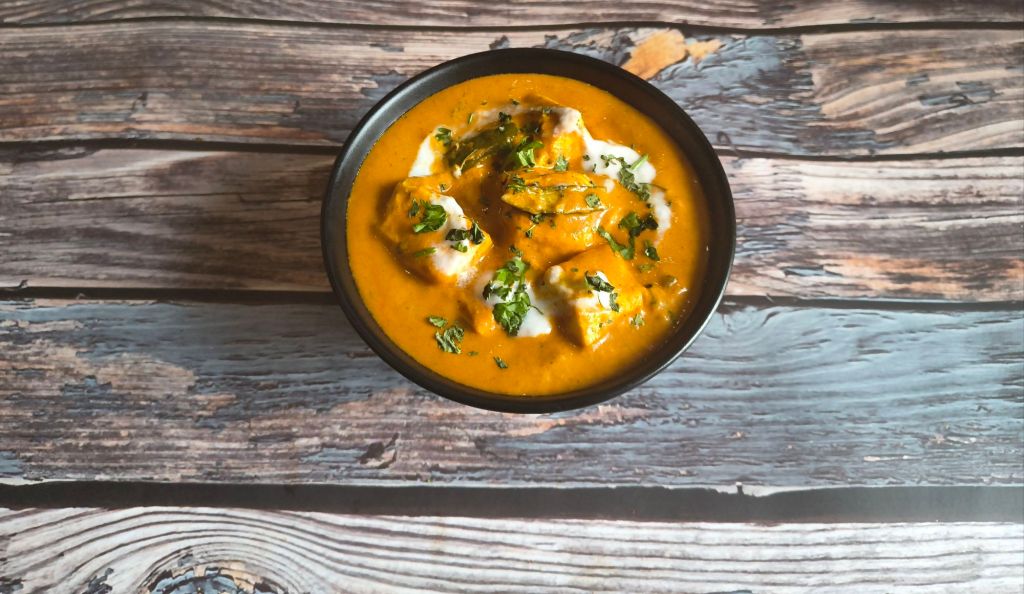
  • Shahi Paneer is one of the most popular dish. This is everyone’s favorite dish. This is a very delicious North Indian curry made with paneer. This is the traditional recipe that has been followed by the generational and has been main stay peroration in the North Indian dish since the time of the Mughals. This is a royal recipe. Shahi Paneer consists of thick rich gravy which is deliciously creamy. I have shared this recipe step by step in an easy way so that you can try very well. This recipe is pure authentic restaurant style even better than that. Even after making this Shahi Paneer recipe, you will get so many compliments from your loved ones. I have shared this recipe with some methods so that anyone can cook this easily.

    In this recipe I have used tomatoes and onions to prepare a creamy sauce. Some prefer to use just onions and skip tomatoes to get the light-yellow color, but I have used both to get the orange color. This recipe is naturally gluten free as I have not used sugar on it.

    This recipe will show you an exactly perfect Shahi Paneer, so with these simple steps, you can easily make this restaurant worthy Shahi Paneer masala or any other specific ingredients to make this dish.

    Health Benefits – There are so many benefits of paneer. It is rich in calcium, which is important for maintain strong bones and teeth, as is made from milk, which contains healthy fats including omega-3 fatty acids. These facts are important for brain function, health and reducing inflammation in the body. It is high in protein and a good source of vitamin B. So overall is very healthy for our body.

    Ingredients

    • 20 pieces cottage cheese
    • 2 diced chopped onions
    • 4 diced chopped tomatoes
    • 4 green chillies
    • 1 small piece ginger
    • 8-9 chopped garlic cloves
    • 1 tsp chopped coriander leaves
    • 2 cups water
    • 2 tbsp fresh curd
    • 1 tsp kasuri methi
    • 1 bay leaf
    • 1 small piece cinnamon stick
    • 2 cloves
    • 1 black cardamom
    • 4 green cardamoms
    • 1 tsp cumin seeds
    • 2 tsp kashmiri red chilli powder
    • 2 tsp coriander powder
    • 1 tsp turmeric powder
    • 1/2 cumin powder
    • 2 tbsp butter
    • 4 tbsp oil
    • Salt to taste

    Recipe

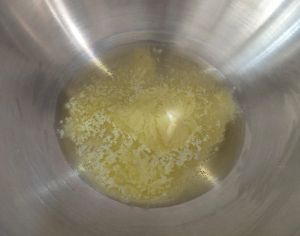
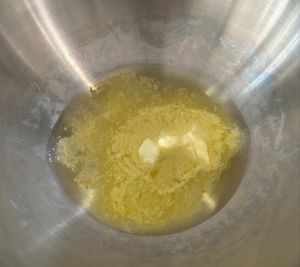
    • First take a pan and put the oil on it.
    • Add butter but it is completely optional.
    • Add all the whole spices like cumin seeds, bay leaf, cinnamon stick, cloves, black cardamom, green cardamoms and cook for 1 min.
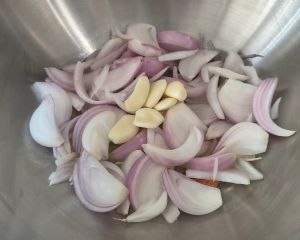
    • Now add roughly chopped onions and sauté for 1 min.
    • Then add garlic cloves.
    • Add chopped ginger.
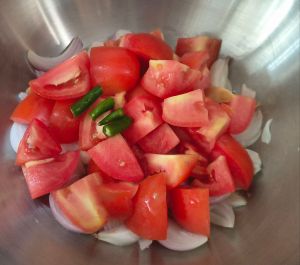
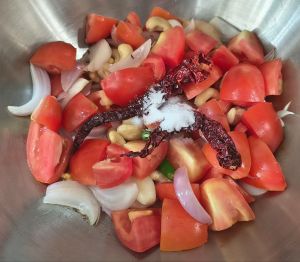
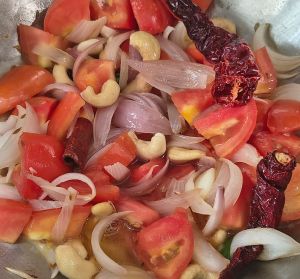
    • Now add roughly chopped tomatoes.
    • Please add green chillis if you want some spicy taste otherwise you can skip it.
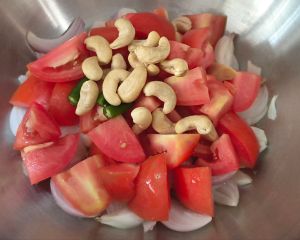
    • Then add cashews for a rich creamy texture.
    • Put salt and keep stirring for some time.
    • Now pour the water as required and cover with the lid then cook for 10 mins on a medium flame.
    • Transfer the cooled mixture into the blender and blend to the smooth paste.
    • Take a bowl and add curd on it.
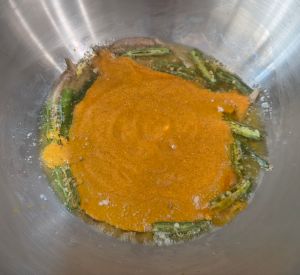
    • Add all the spices like kashmiri red chilli powder, coriander powder, turmeric powder and cumin powder then make a smooth paste.
    • Heat the oil on the same pan but I have washed the kadai again because I want the best result.
    • Please add butter but this is completely optional but use for better taste.
    • Then add ginger julians.
    • Add slit green chillis if you do not like much spicy then skip it.
    • Now at this stage pour curd puree and keep stirring otherwise it can be curdled but make sure flame should be low.
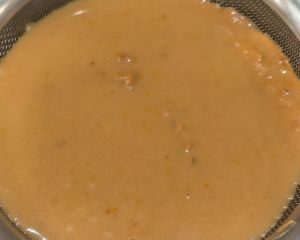
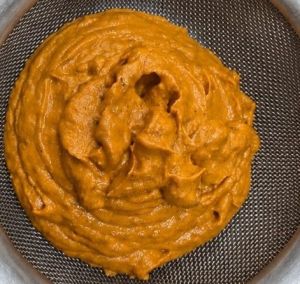
    • Strain the paste on a strainer to give a silky and creamy texture, this is a very important step so cannot be avoided.
    • I have added 1/2 cup of water while straing the mixture.
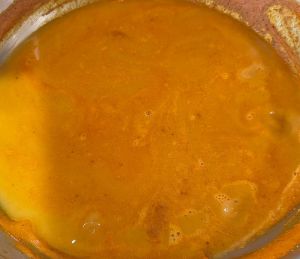
    • Add more water after mixed the mixture as u required but I have added 1 n 1/2 cup of water and cook for 5 mins.
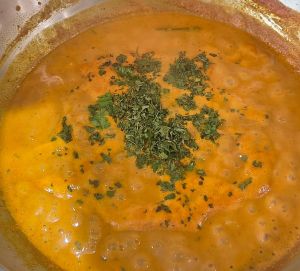
    • Now add some chopped fresh coriander leaves.
    • Add kasuri methi to give a nice aroma.
    • Then add paneer pieces and mix gently.
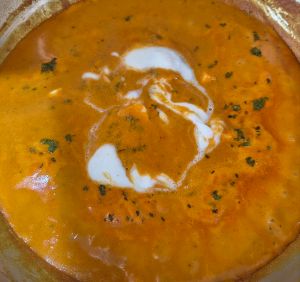
    • Pour some cream to give an extra creamy texture and give more taste to the gravy.
    • Serve it.

    • Preparation Time – 10 mins
    • Cooking Time – 25 mins
    • Total Time – 35 mins

    • Cuisine – Mughlai
    • Serving – 4

    Frequently Asked Questions

    Is Shahi Paneer spicy?

    No, Shahi Paneer is generally mild, creamy, and slightly sweet.

    Can I make it vegan?

    Yes. Replaces paneer with tofu and cream with coconut cream or cashew cream.

    Important Tips

    • I did not use garam masala if you want so you can use it at last.
    • You can use sugar or honey for some sweetness.
    • Adjust the quantity according to your choice.
    • This Shahi paneer recipe uses uncooked paneer however you can deep fry the paneer until light brown and add into the curry for variations.
    • You can even use melon seeds instead of cashews.
    • I have soaked the cashews for half an hour, but you can use directly.
    • I have used fresh malai instead of cream.
    • Make sure curd should not be sour.
    • Crush kasuri methi with hands so that flavor may be more hence.

    Serving Suggestions

    • Butter Naan
    • Lachha Paratha
    • Tandoori Roti
    • Tawa Roti
    • Jeera rice

    Nutritional Values

    • Calories – 500 kcal
    • Protein – 14 gm
    • Fat – 19 gm
    • Sugar – 4 gm
    • Iron – 5 gm
    • Fiber – 2 gm

    Note

    The nutritional values mentioned above are approximate and may vary depending on the ingredients used, their quantities, cooking method, and serving size is also matter.

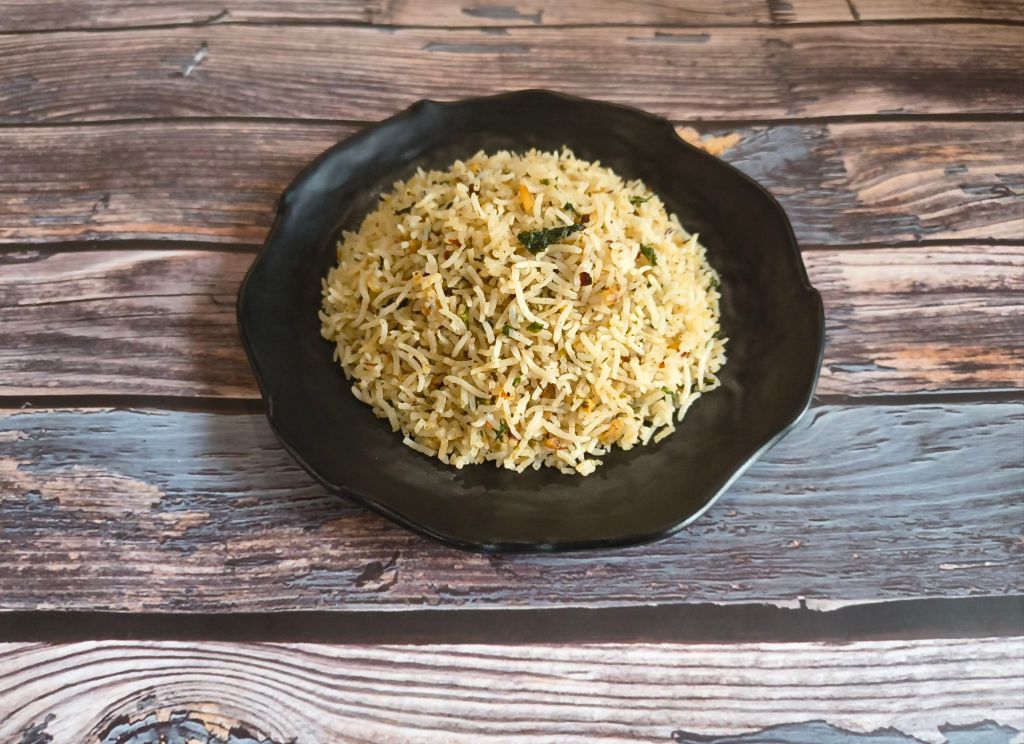
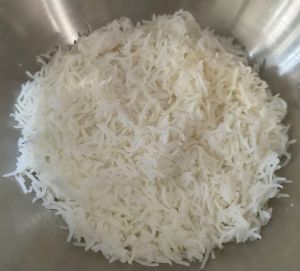
  • Mixed Herbs Rice is one of those dishes that looks fancy but is actually super easy to make. It is comforting and always feels like something you had to get at a cafe. If you love herby flavors. Mixed Herb Rice is yummy and easy side dish; it is perfect for almost every recipes. It is simple but very flavorful recipe. It is seasoned with herbs and tossed in butter. It makes a great use of leftover plain rice but try to make fresh rice for this dish.

    Mixed Herbs Rice is a vibrant and aromatic rice dish that combines perfectly cooked rice with a blend of some unique flavors, creating a refreshing and flavorful accompaniment to a wide range of meals. The dish is appreciated for its delicate balance of flavors, where the natural fragrance herbs take center stage, enhancing the rice without overpowering it. Popular in various forms across Middle Eastern, and Asian cuisines, herb-infused rice has long been enjoyed as simple yet elegant way to elevate plain rice into something more exciting and tastier.

    It can be prepared as a light side dish with some cheesy gravy or sauce. It is typically aromatic and savory, with specific taste depending on the herbs used. Even though it is simple dish it adds a nice twist to regular rice.

    Even you can use vegetables according to your choice if you want to give some more extra healthy version, but I love to eat only plain mixed herbs rice. You just cook and feel the taste.

    Health Benefits

    It is rich in antioxidants and helping to fight free radicals and reduce inflammation. Many herbs reduce bloating. Herbs reduce the blood pressure and heart health. Herbs improve gut health. Even herbs reduce gas and acidity.

    Ingedients

    • 1/2 cup rice
    • 2 tbsp butter
    • 14-15 chopped garlic cloves
    • 1/4 cup chopped fresh coriander leaves
    • 1 tsp chili flex
    • 1 tsp mixed oregano
    • 1/4 tsp black pepper
    • Salt to taste

    Recipe

    • First wash and soak the rice for 20-25 mins.
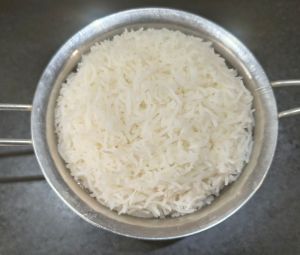
    • Boil the rice properly but make sure do not overcook.
    • Remove access water of rice and keep aside.
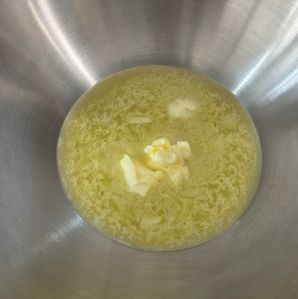
    • Take a kadai add butter and heat it.
    • Then add chopped garlic and fry until they turn golden in color.
    • Once done add chopped fresh coriander leaves and mix well.
    • Add cooked rice.
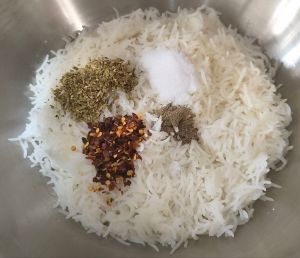
    • Add all the spices like chili flex, dried mixed oregano, black pepper and salt and mix well to combine.
    • Mix gently until the rice is evenly coated with herbs and seasonings.
    • Serve it.

    • Preparation Time – 5 mins
    • Cooking Time – 10 mins
    • Soaking Time – 25 mins
    • Total Time – 40 mins

    • Cuisine – Versatile
    • Serving – 4

    Important Tips

    • Choose the herbs according to your choice.
    • You can use fresh herbs as well but I have used dried mixed herb.
    • Try to use always fresh rice.
    • Please make this recipe in butter only so that you can get unique taste.
    • Do not overcook the rice.
    • If you like some tangy flavors so use lemon juice on this recipe.
    • I have mentioned the rice boiling time in cooking time as well.
    • You can use olive oil instead of butter.

    Frequently Asked Questions?

    • Can I use fresh herbs instead of dried herbs?
    • Yes. You can use fresh herbs instead of dried herbs for more healthy option.
    • Can I make this recipe vegan?
    • Absolutely. Use olive oil or any plant-based butter instead of regular butter.

    Serving Suggestions

    • Saucy gravy
    • Roasted vegetables
    • Grilled paneer
    • Vegetable curry
    • Salad
    • Raita

    Nutritional Values

    • Calories – 350 kcal
    • Protein – 5 gm
    • Fat – 9 gm
    • Sugar – 2 gm
    • Iron – 3 gm
    • Fiber – 1 gm

    Note

    The nutritional values of mixed herbs rice depend on the ingredients quantity and serving size. So, for the most accurate nutritional value, calculate them using the specific ingredients and quantity.
  • Welcome to WordPress! This is your first post. Edit or delete it to take the first step in your blogging journey.